-->

Image Upload using AJAX in PHP MySQLi

This tutorial will teach you how to upload images using AJAX in PHP/MySQLi.

Creating our Database

First step is to create our database.
1. Open phpMyAdmin.
2. Click databases, create a database and name it as upload.
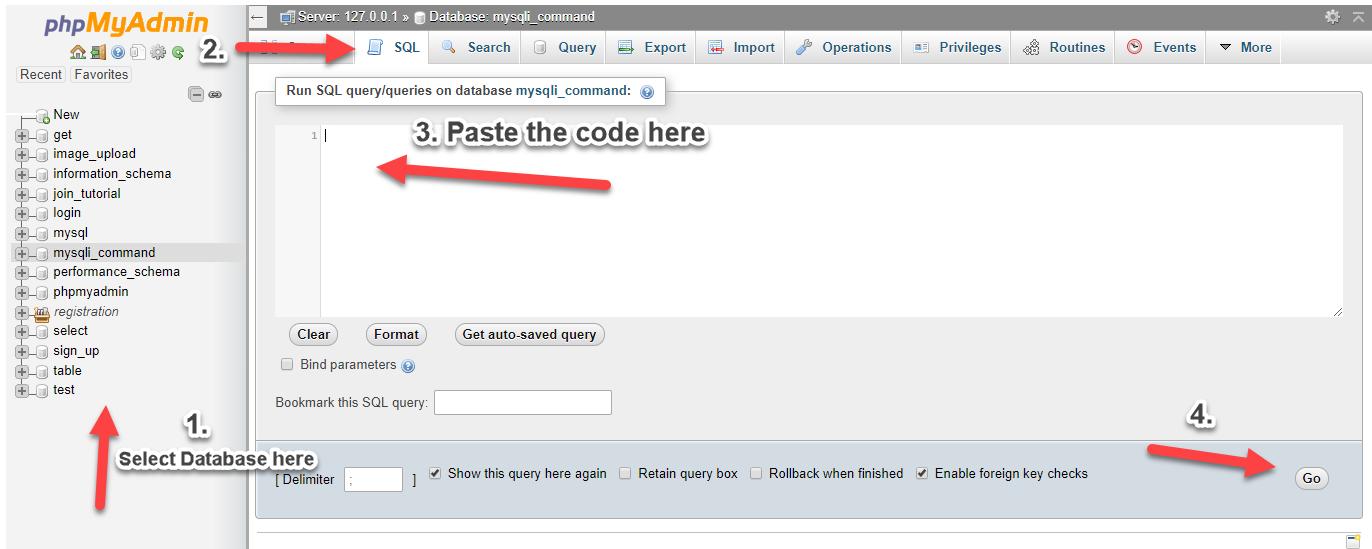
3. After creating a database, click the SQL and paste the below codes. See image below for detailed instruction.
  1. CREATE TABLE `photo` (
  2. `photoid` INT(11) NOT NULL AUTO_INCREMENT,
  3. `location` VARCHAR(150) NOT NULL,
  4. PRIMARY KEY(`photoid`)
  5. ) ENGINE=InnoDB DEFAULT CHARSET=latin1;
ajaxupload

Creating our Connection

Next, we create our connection to our database. This will serve as the bridge between our forms and database. We name this as conn.php.
  1. <?php
  2. $conn = mysqli_connect("localhost","root","","upload");
  3. if (!$conn) {
  4. die("Connection failed: " . mysqli_connect_error());
  5. }
  6. ?>

index.php

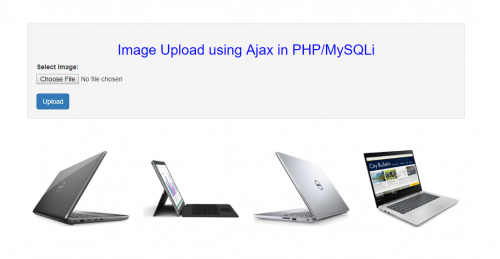
We create our upload form and we show the images uploaded in this page.
  1. <!DOCTYPE html>
  2. <html>
  3. <head>
  4. <title>Image Upload using AJAX in PHP/MySQLi</title>
  5. <script src="<a href="https://ajax.googleapis.com/ajax/libs/jquery/3.1.0/jquery.min.js"></script>
  6. " rel="nofollow">https://ajax.googleapis.com/ajax/libs/jquery/3.1.0/jquery.min.js"></scri...</a> <link rel="stylesheet" href="<a href="https://maxcdn.bootstrapcdn.com/bootstrap/3.3.6/css/bootstrap.min.css"" rel="nofollow">https://maxcdn.bootstrapcdn.com/bootstrap/3.3.6/css/bootstrap.min.css"</a> />
  7. <script src="<a href="https://maxcdn.bootstrapcdn.com/bootstrap/3.3.7/js/bootstrap.min.js"></script>
  8. </head>
  9. <body>
  10. <div" rel="nofollow">https://maxcdn.bootstrapcdn.com/bootstrap/3.3.7/js/bootstrap.min.js"></s...</a> class="container">
  11. <div style="height:50px;"></div>
  12. <div class="row">
  13. <div class="well" style="width:80%; padding:auto; margin:auto">
  14. <form>
  15. <h2 align="center" style="color:blue">Image Upload using AJAX in PHP/MySQLi</h2>
  16. <label>Select Image:</label>
  17. <input type="file" name="file" id="file"><br>
  18. <button type="button" id="upload_button" class="btn btn-primary">Upload</button>
  19. </form>
  20. </div>
  21. </div>
  22. <div style="height:50px;"></div>
  23. <div style="width:80%; padding:auto; margin:auto;">
  24. <div id="image_area"></div>
  25. </div>
  26. </div>
  27. </body>
  28. <script src="custom.js"></script>
  29. </html>

fetch_photo.php

This is our code in fetching uploaded photos from our database.
  1. <?php
  2. include('conn.php');
  3. if(isset($_POST['fetch'])){
  4. $inc=4;
  5. $query=mysqli_query($conn,"select * from photo");
  6. while($row=mysqli_fetch_array($query)){
  7. $inc = ($inc == 4) ? 1 : $inc+1;
  8. if($inc == 1) echo '<div class="row">';
  9. ?>
  10. <div class="col-lg-3"><img src="<?php echo $row['location']?>" style="height:200px; width:100%;"></div>
  11. <?php
  12. if($inc == 4) echo '</div>';
  13. }
  14. if($inc == 1) echo '<div class="col-lg-3"></div><div class="col-lg-3"></div><div class="col-lg-3"></div></div>';
  15. if($inc == 2) echo '<div class="col-lg-3"></div><div class="col-lg-3"></div></div>';
  16. if($inc == 3) echo '<div class="col-lg-3"></div></div>';
  17. }
  18. ?>

upload.php

This is our code in uploading images into our database.
  1. <?php
  2. include('conn.php');
  3. if($_FILES["file"]["name"] != '')
  4. {
  5. $newFilename = time() . "_" . $_FILES["file"]["name"];
  6. $location = 'upload/' . $newFilename;
  7. move_uploaded_file($_FILES["file"]["tmp_name"], $location);
  8. mysqli_query($conn,"insert into photo (location) values ('$location')");
  9. }
  10. ?>

custom.js

Lastly, this contains our jQuery and AJAX code in uploading and fetching our images.
  1. $(document).ready(function(){
  2. showPhoto();
  3. $(document).on('click', '#upload_button', function(){
  4. var name = document.getElementById("file").files[0].name;
  5. var form_data = new FormData();
  6. var ext = name.split('.').pop().toLowerCase();
  7. if(jQuery.inArray(ext, ['gif','png','jpg','jpeg']) == -1){
  8. alert("Invalid Image File");
  9. }
  10. var oFReader = new FileReader();
  11. oFReader.readAsDataURL(document.getElementById("file").files[0]);
  12. var f = document.getElementById("file").files[0];
  13. var fsize = f.size||f.fileSize;
  14. if(fsize > 2000000){
  15. alert("Image File Size is very big");
  16. }
  17. else{
  18. form_data.append("file", document.getElementById('file').files[0]);
  19. $.ajax({
  20. url:"upload.php",
  21. method:"POST",
  22. data: form_data,
  23. contentType: false,
  24. cache: false,
  25. processData: false,
  26. success:function(){
  27. showPhoto();
  28. }
  29. });
  30. }
  31. });
  32. });
  33. function showPhoto(){
  34. $.ajax({
  35. url:"fetch_photo.php",
  36. method:"POST",
  37. data:{
  38. fetch:1,
  39. },
  40. success:function(data){
  41. $('#image_area').html(data);
  42. }
  43. });
  44. }
That ends this tutorial. If you have any comments or questions, feel free to comment below or message me. Happy Coding :)